© 2025 Messer Cutting Systems, Inc.

Frameless Sliding Doors can bring daylight into a room and create a cleaner visual connection between spaces. Their broad glass panels suit compact bathrooms, modern wardrobes, and patio openings. Yet “frameless” rarely means there is no supporting hardware. The panels still rely on tracks, rollers, guides, and secure fixing points. Those details affect daily use as much as appearance.
Think about where the door will go before comparing finishes. A shower door needs suitable glass, reliable seals, and enough clearance to open smoothly. A patio door has different demands, including weather exposure, insulation, and access. Measure the opening carefully, and note nearby taps, furniture, or wall returns. Small differences matter. A door that looks perfect in a showroom may feel awkward beside a towel rail.
Ask suppliers for clear product specifications, including glass thickness, hardware materials, weight limits, and maintenance guidance. For heavy panels or unusual openings, have a qualified installer assess the structure and fitting method. Local building and safety requirements may also affect which products are appropriate. Do not judge quality by minimal hardware alone. Quiet rollers, stable movement, and replaceable components are easier to appreciate after months of use.
Cleaning is another practical test. Water spots show quickly on clear glass, especially in hard-water areas. Check whether the track is easy to reach and whether seals can be maintained. Some trade-offs are unavoidable: the most open look may offer less privacy or sound separation. It is worth questioning that preference before buying. A well-chosen door should suit the room, not just the photograph.
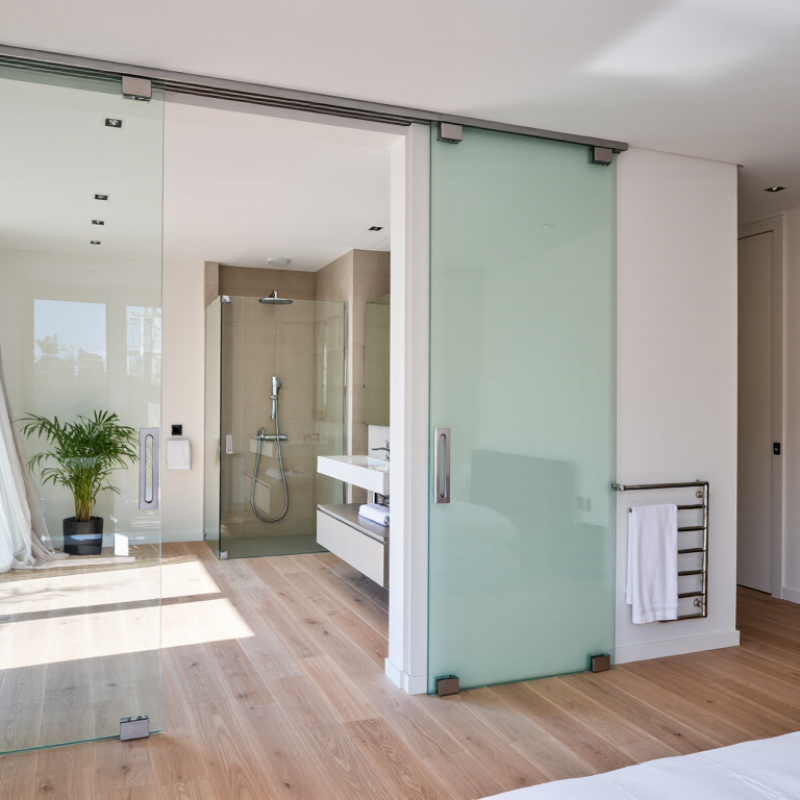
How to Choose Frameless Sliding Doors?
Measure the finished opening at the top, middle, and bottom; record the smallest width and height. Check whether the floor is level and the jambs are plumb. A few millimeters can affect panel clearance, overlap, and sealing. The opening size is not the panel size. Account for track dimensions, installation tolerances, and the system’s specified panel limits. Ask for test documentation showing the tested configuration and dimensions. ASTM E330 evaluates structural performance under uniform static air pressure, but a test result applies to its stated setup—not every opening.
Tips: Use a rigid tape, note each measurement, and photograph the sill and jambs. Confirm glass thickness, panel weight, hardware capacity, and any required head clearance with the installer. Small details matter.
Oversized panels may exceed tested limits or place excessive loads on rollers and guides; undersized panels can compromise coverage. The U.S. Department of Energy’s Energy Saver guidance estimates that windows account for about 25–30% of residential heating and cooling energy use, making fit and sealing worth careful attention. That figure is broad, not a prediction for one door. Even careful measurements can miss a bowed wall, so verify the opening again after finishes are complete.
| Measurement or Check | Illustrative Example | How to Determine It | What to Confirm |
|---|---|---|---|
| Opening width | 2,400 mm (94.5 in) | Measure horizontally at the top, middle, and bottom of the finished opening. Record the smallest measurement. | Use the system’s required measuring reference and installation clearances; do not assume the nominal opening is the order size. |
| Opening height | 2,100 mm (82.7 in) | Measure vertically at the left, center, and right. Record the smallest measurement after accounting for the finished floor and head condition. | Check the proposed glass height, track arrangement, and adjustment range against the system documentation. |
| Opening squareness and level | Check both diagonals; compare the readings. | Measure from corner to opposite corner in both directions. Use a level to check the sill and head, and a plumb tool to check the jambs. | Confirm any allowable out-of-square or out-of-level tolerance with the system supplier before sizing panels. |
| Panel count and layout | 2 sliding panels | Choose the number of panels and which panel or panels move. Panel count affects the required overlap and usable clear opening. | Verify that the tested configuration supports the intended panel count, track layout, and operating direction. |
| Illustrative panel-width calculation | (2,400 mm opening + 50 mm overlap) ÷ 2 = 1,225 mm per panel | For this simplified two-panel example only, panel width = (opening width + overlap) ÷ 2. | Overlap is system-specific. Confirm how the system defines opening width, panel coverage, interlocks, and end clearances before ordering. |
| Panel height and clearance | Determine from the measured opening and the selected track and hardware details. | Do not calculate glass height from the opening alone. Account for the system’s specified top and bottom clearances, track depth, and floor finish. | Confirm the final panel height with the system’s sizing method and the site’s finished dimensions. |
| Glass thickness, weight, and hardware capacity | Check using the selected glass specification and calculated panel dimensions. | Panel weight depends on glass type, thickness, and panel area. Have the weight checked using the applicable glass specification. | Each panel must remain within the system’s tested glass, panel-weight, and hardware limits. |
| Final system-limit check | Compare every proposed panel dimension with the system’s published tested minimums and maximums. | Review the applicable technical documentation for panel width, panel height, weight, configuration, and installation conditions. | Proceed only when the proposed sizes and configuration fall within the tested limits. Example measurements above are for illustration, not universal product limits. |
Planning note: Take final measurements after the opening surfaces and floor are finished. Sizing rules, overlap, clearances, and tested limits vary by sliding-door system.